Successfully tempering chocolate
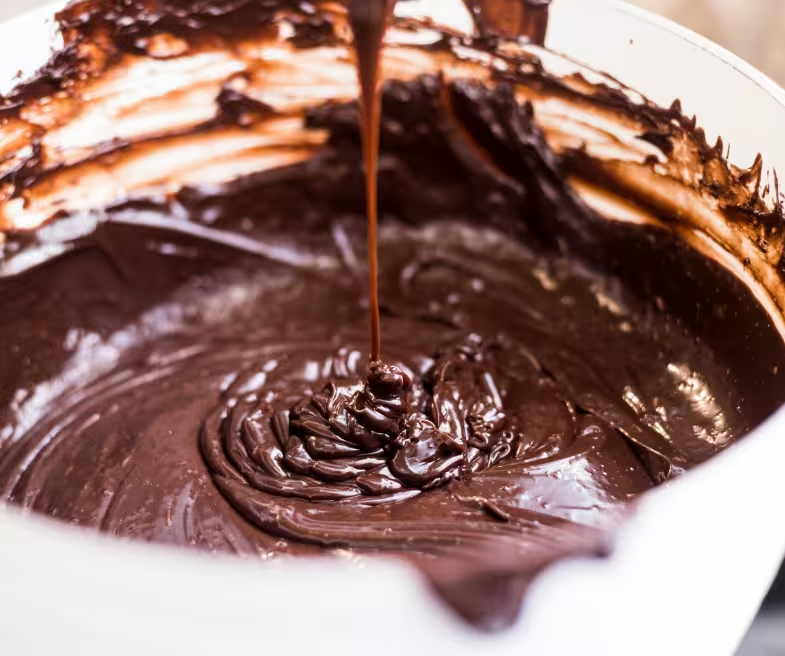
Tempering chocolate is an essential step in achieving a result worthy of an artisan chocolatier: shiny, crunchy, stable chocolate that doesn't melt between your fingers.
If you want to make bars, molds, coatings, or decorations, mastering this technique will allow you to achieve a perfectly smooth and elegant finish.
Discover why tempering is essential and how to do it step by step.
Why temper chocolate?
Tempering chocolate means controlling the crystallization of cocoa butter to achieve a flawless texture and appearance.
A well-tempered chocolate:
- does not whiten when cooled
- has a perfect shine
- does not stick to fingers
- easily removed from the mold
Without tempering, chocolate becomes dull, soft, and unstable. You lose the whole "wow" effect.
The 3 essential steps of tempering
The most common method involves three steps: melt, cool, then reheat slightly.
1) Melt the chocolate
Start by melting the chocolate to completely break down its crystals.
Recommended temperatures:
- Dark chocolate: 50 to 55°C
- Milk chocolate: 45 to 50°C
- White chocolate: 40 to 45°C
Tip: Use a double boiler for smooth, even melting.
2) Cool the chocolate
Once melted, the chocolate must cool down again. This allows stable crystals to reform.
You can:
- stir the chocolate in a bowl to cool it
- or spread it on a marble slab, like professional chocolatiers
Temperature targets:
- Dark chocolate: 27 to 28°C
- Milk chocolate: 27–28°C
- White chocolate: 26–27°C
At this stage, the texture becomes thicker and shinier.
3) Warm slightly
Finish by gently heating the chocolate to make it fluid and ready to be molded or used as a coating.
Final temperatures:
- Dark chocolate: 31 to 32°C
- Milk chocolate: 29 to 30°C
- White chocolate: 28–29°C
The result is a smooth, fluid chocolate with perfect crystallization.